# User Guide
Certificate Issuance Portal enables an Issuer/organization to select and create a sample certificate and issue it to an individual.
The first step for an issuer would be to *“Register as an Issuer”* on the Issuance portal.
## Registration
* Enter Mobile no./Email Id
* Redirects to registration page if not registered
* Enter the required details in the registration form
* Click on "Register" button
Certificate Issuance consists mainly of two major steps.
1. Template Selection/ Template Generation
2. Certificate Issuance
## Template Selection & Generation
* Login as an issuer
* Enter the OTP received on Mobile no./Email Id
* Click on Verify button
* Dashboard gets open
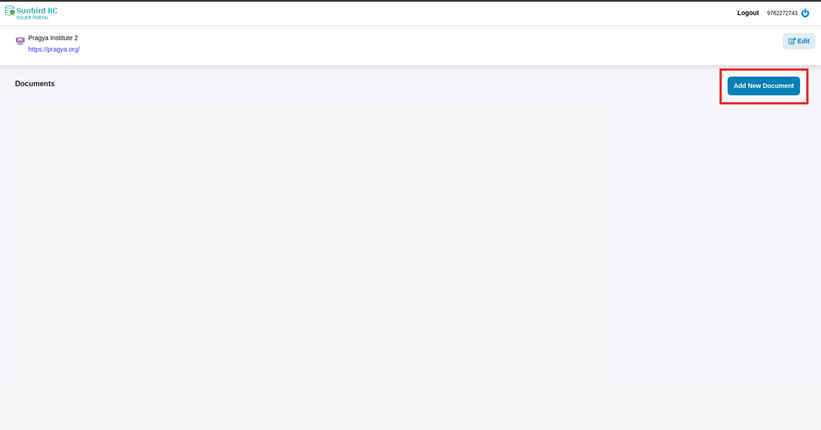
* Click on *“Add New Document”* button
* Redirects to the screen where two options are available
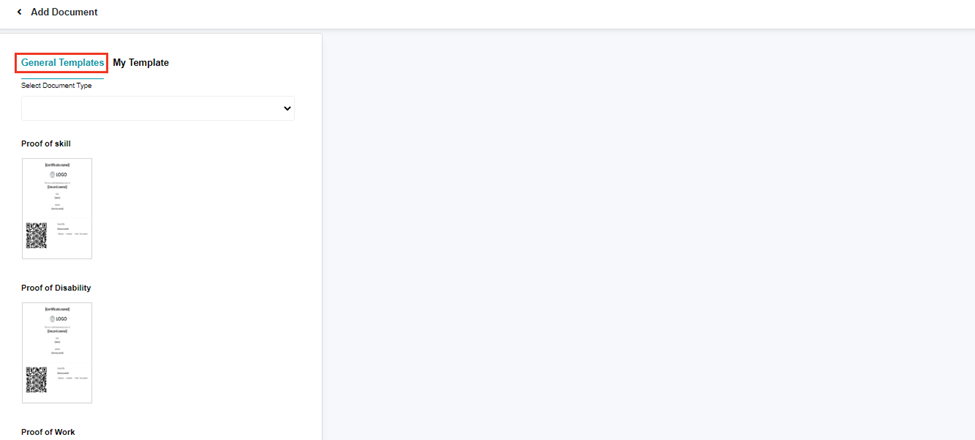
* General Template: Pre-designed certificate templates are available. As of now 3 templates are available
1. Proof of Skill
2. Proof of Work
3. Proof of Disability.
* My Template: Allows users to upload and save custom form templates
### General Template
* Click on General Template button
* Templates appear on the screen
* Select a particular template, preview of the same is shown on the right hand side.
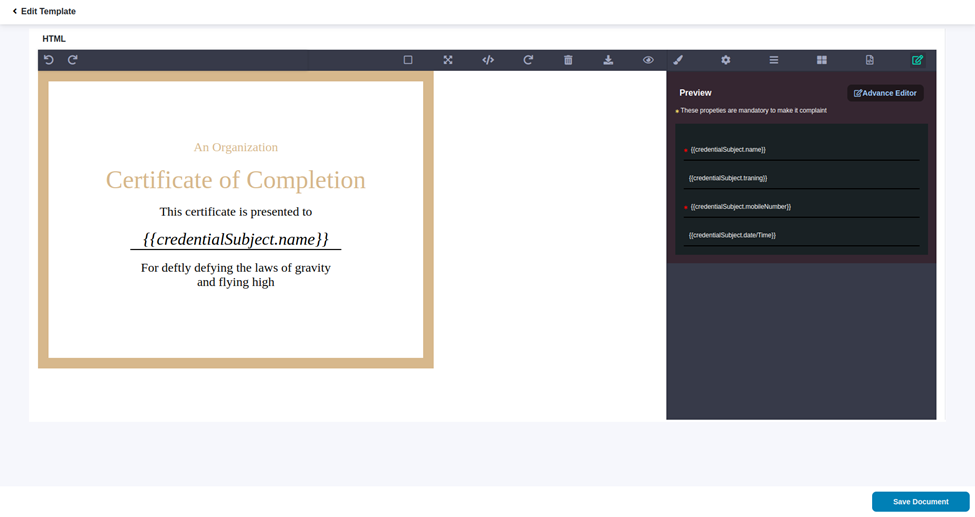
* Click on *“Edit template”* button if customization required
* Multiple options to edit the template are available to customize a certificate that meets specific needs and preferences of the user:
* Layout editing
* Adding or removing additional text
* Adding Images
* Changing fonts and colors
* Export the html code of the generated certificate.
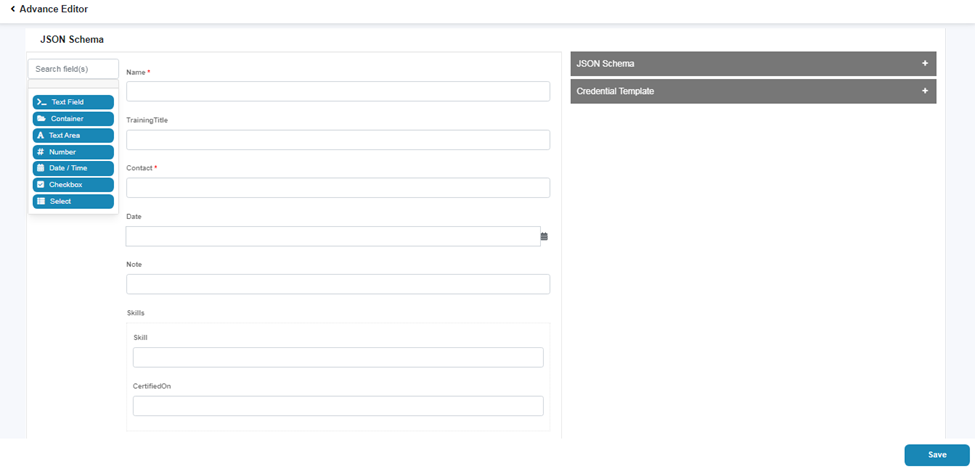
* Advance Editor
* Click on “*Advance editor”* button
* The Advance Editor allows to customize the layout of your form by adding, removing, and rearranging form elements.
* Drag and drop elements from the left-hand menu onto the canvas.
* Click on *“Save*” button to save the changes in the Advance Editor
* Click on *“Save Template*” button to save the template
* Add Name of the Certificate and description(Certificate name should be unique)
* Click on “*save”* button
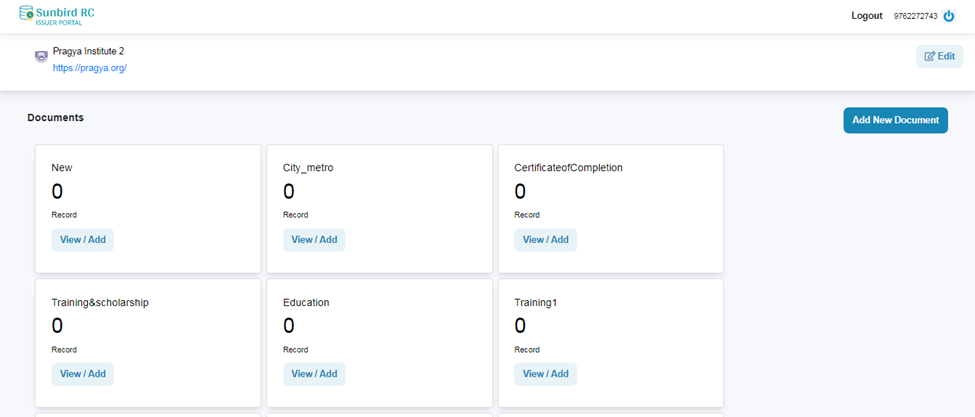
* Redirects to the Dashboard screen
* Saved template appears on the Dashboard
### My Template
* Click on *“My template”* button
* Click on *“Upload template”* button (Only SVG and HTML format supported)
* This will open a file dialog box, select the template file to upload.
* Preview of the template appears on the screen
* Click on the *“Edit Template”* button
* Multiple options to edit the template are available to customize the uploaded certificate:
* Layout editing
* Adding or removing additional text
* Adding Images
* Changing fonts and colors
* Export the html code of the generated certificate.
* Advance Editor (Mandatory)
* The Advance Editor allows to customize the layout of your form by adding, removing, and rearranging form elements.
* Drag and drop elements from the left-hand menu onto the canvas.
* Add validations if required
* Click on *“Save*” button to save the text field component
***
* Click on *“Save*” button to save the changes in the Advance Editor
* Click on *“Save Document*” button to save the template
* Add Name of the Certificate and description(Certificate name should be unique)
* Click on “*save”* button
* Redirects to the Dashboard screen
## Certificate Issuance
There are two provisions available to issue the certificates to the individuals:
* Single Issuance: Single Issuance option allows to generate and issue one certificate at a time
* Bulk Issuance (WIP) : The Bulk Issuance option allows users to generate and issue multiple certificates at once using a CSV file containing the recipient information. This option is ideal because the issuer needs to issue certificates to a large group of individuals.
### Single Issuance
Steps to issue a certificate using the Single Issuance option:
* Open the Dashboard
* Click on the “View/Add” button in the document card

* Click on the “Add” button to add a new record
* Click on “Single Record” option
* Fill in the required details
* Click on the “Save” button
* Redirects to the “List View” of issued certificates
* Click on the “view icon” to view the certificate
### Bulk Issuance (WIP)
Steps to issue a certificate using the Single Issuance option:
* Open the Dashboard
* Click on the *“View/Add”* button in the document card
* Click on the *“Add”* button to add a new record
* Click on *“Bulk Record”* option
* Click on the *“Download Sample Template*”
* Add the required data in the downloaded sample template( excel/CSV)
* Click on the *“Browse”* Button
* This will open a file dialog box, select the excel/CSV to upload
* Click on “*Upload*” button
* Data gets uploaded and redirects to the list view of the recipients.
* Click on “View” button to view or download the certificate
***